
The right way to fix data, that is to create, update or delete records, is to create and execute a runnable class. However, there is a quick trick to do it using my favorite tool, Electronic Reporting. You do not need Visual Studio or any code deployment, and you can easily export the ER XML to another environment. Of course, this guide is intended only for test environments, as this is not considered good practice.
First, go to the Electronic Reporting Workspace, make sure your configuration provider is active, and if you do not have one (you cannot work with Microsoft), create it.
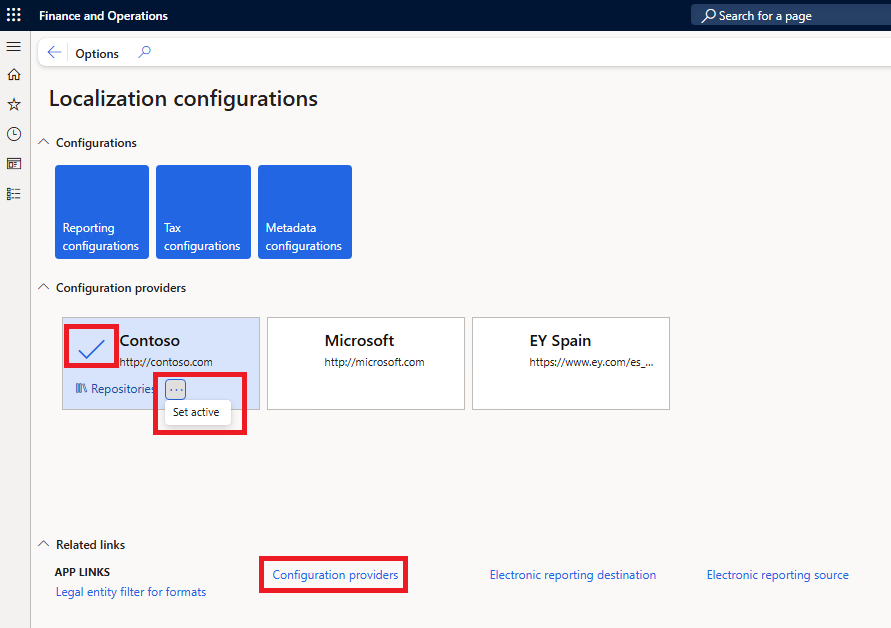
Now let’s select the “Reporting configurations” and create a new model.
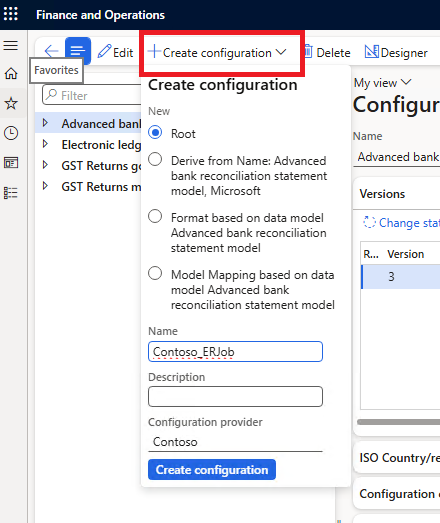
And select the newly created node in the left column, click “Designer,” and create a root node. We can just call it “Root.”
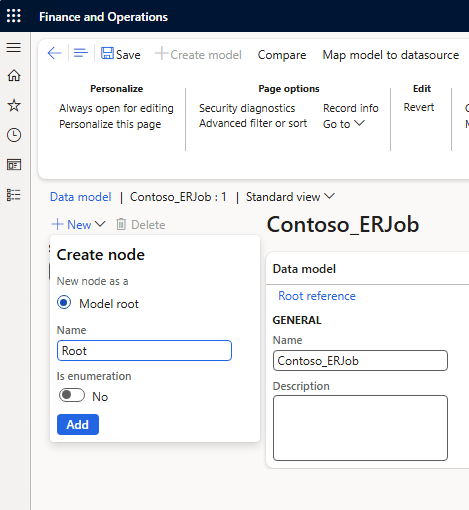
Now click “Map model to datasource” in the top menu, and create a new record, selecting the direction “to destination.” For those with more experience with ER, this is the same as creating an external mapping. While for real reports I always separate them, I think that for creating a job it is simpler and faster to use an internal mapping.
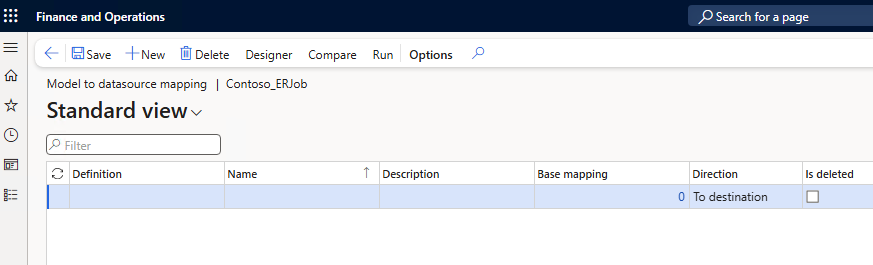
Now we select “Designer,” and we can start developing the solution, but let’s first decide what we want to update 😅.
Let’s say we have the table Customer groups, and we want to update the “Description” column by adding “Legacy” at the beginning of all records, except for those that already start with “Legacy.”
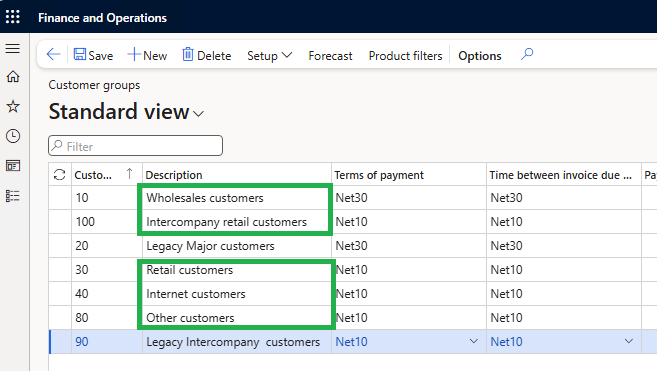
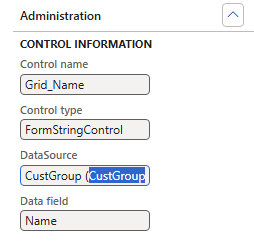
We need to know the name of the table. To do that, right-click on a column title, select Form information > Form name, and it will appear in the Data source field. Under Data field, you will also see the name of the field.
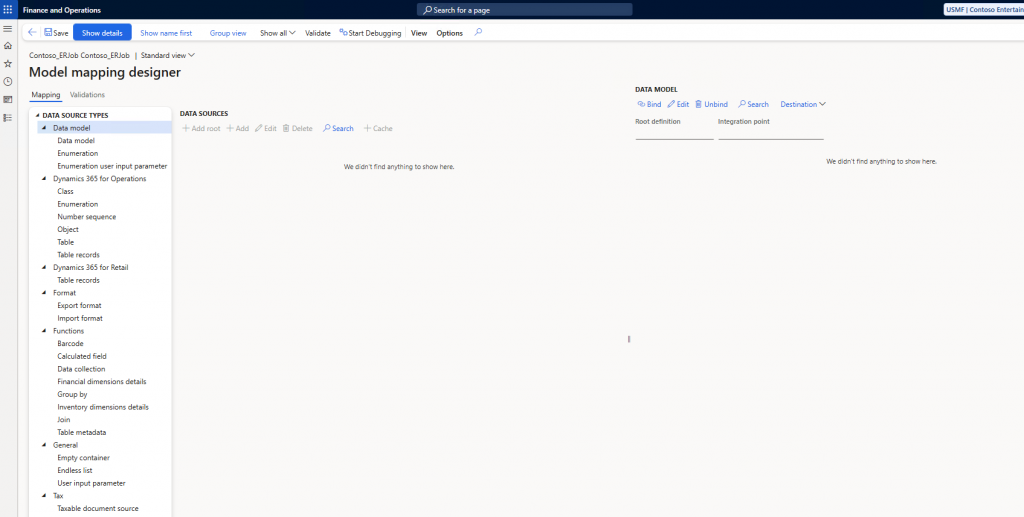
Now back in Electronic Reporting, we have three columns. On the left are all the objects and tools we can use, in the middle are the objects we have selected and transformed, and on the right are the tables or entities we want to modify.
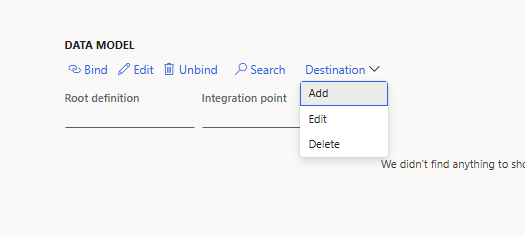
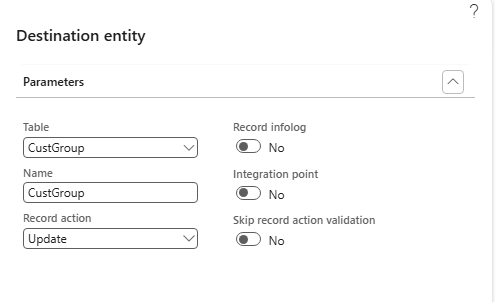
Let’s start by adding our destination table “CustGroup” in the right column, and select the action Update, since we don’t want to create or delete records.
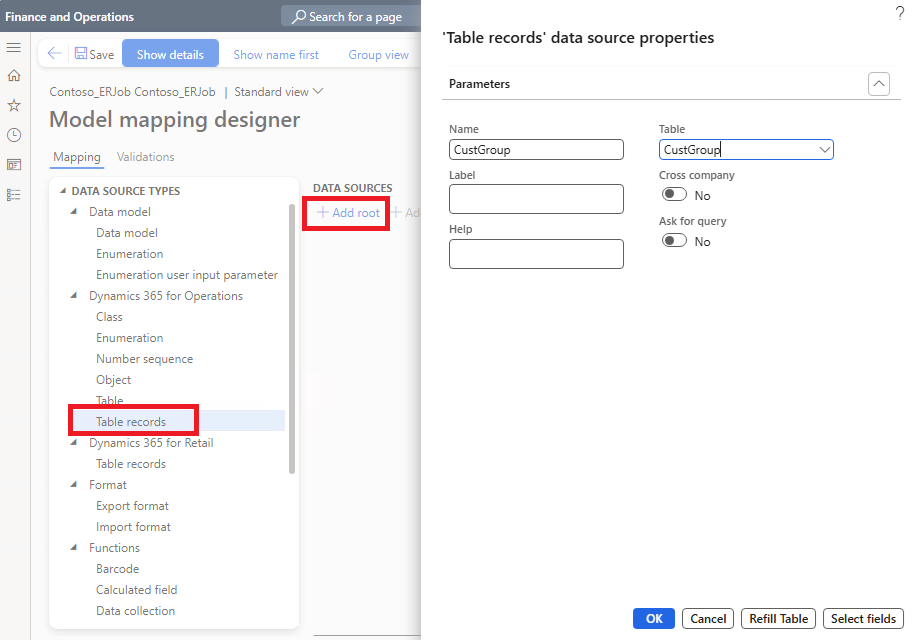
Now in the middle column, let’s also declare the same table (records).
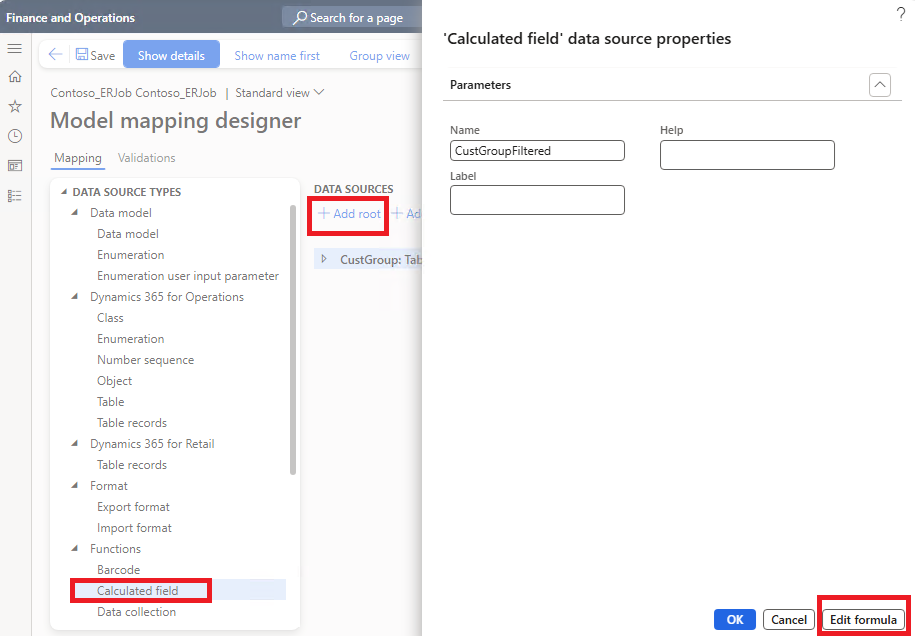
Let’s also create a calculated field with a formula that will be used to filter out the records that already start with “Legacy”.

Where
(
CustGroup,
LEFT(CustGroup.Name,6) <> "Legacy"
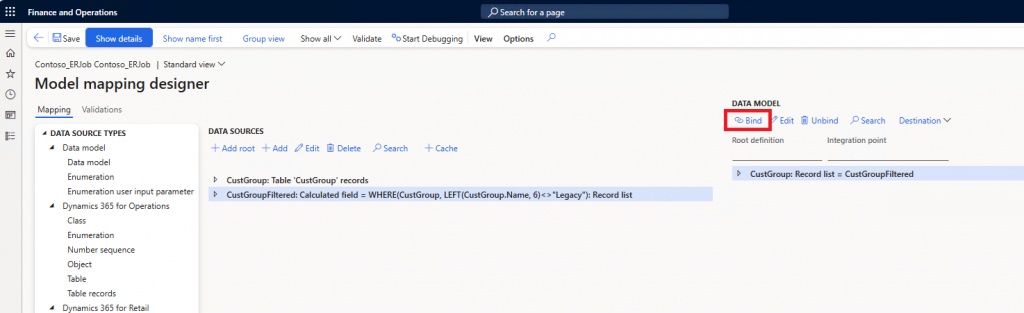
)This formula means filtering (in memory) the CustGroup records whose first six characters in the Name (description) field are not “Legacy”.
Now we can bind this filtered list of records to the destination.
And we also have to bind some fields:
RecId: As the unique identifier of the record, it is one of the unique keys. A unique key is necessary so the system knows which record we are referencing.
Name: The new name, which we will edit to add the prefix “Legacy”.
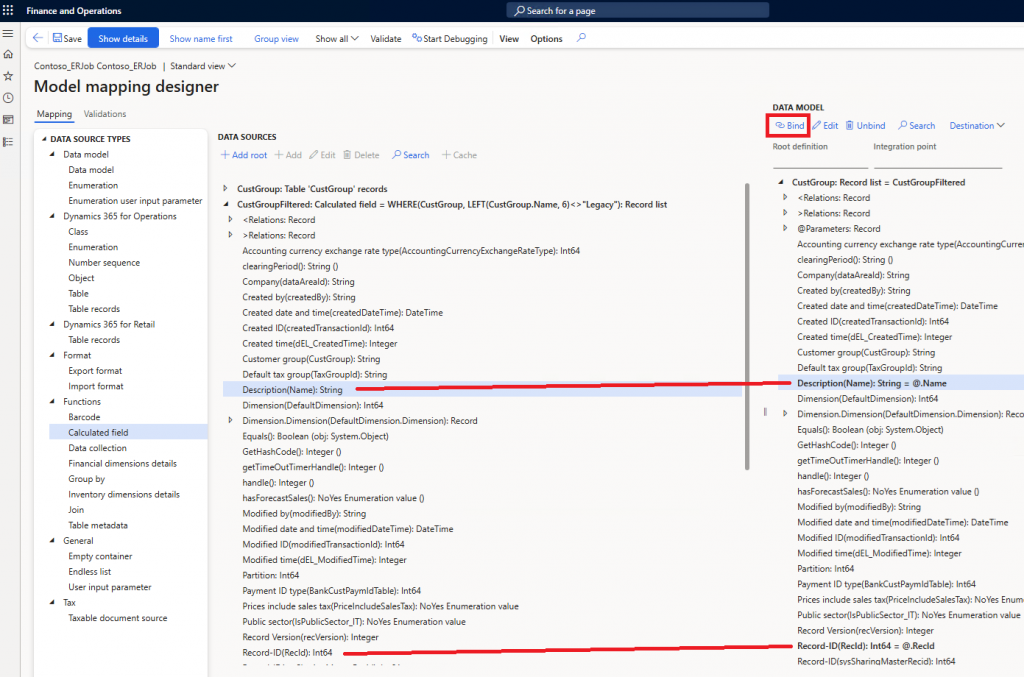
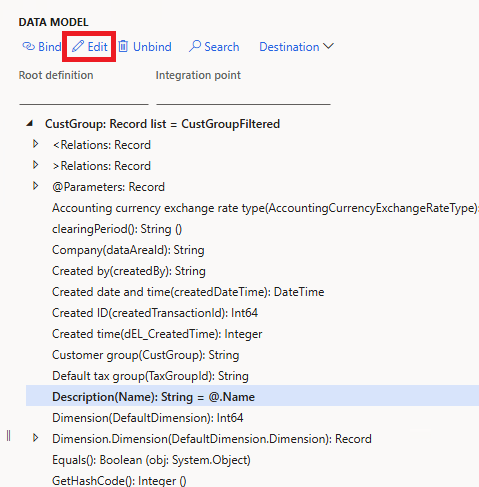
Finally, let’s edit the formula of “Description/Name”.

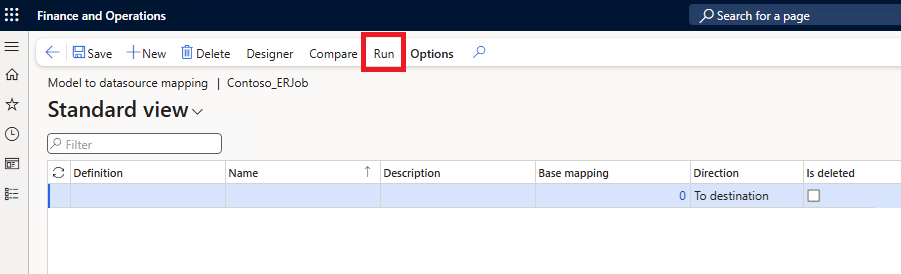
Now we can save the changes, go back to the mappings form, and click “Run”.

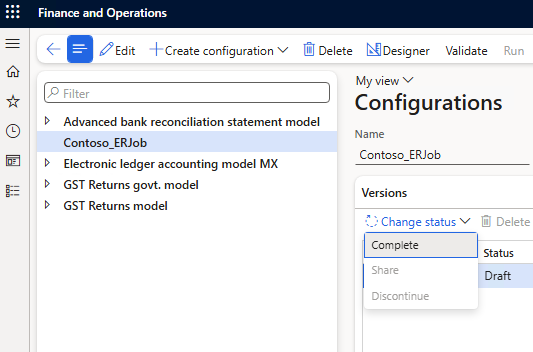
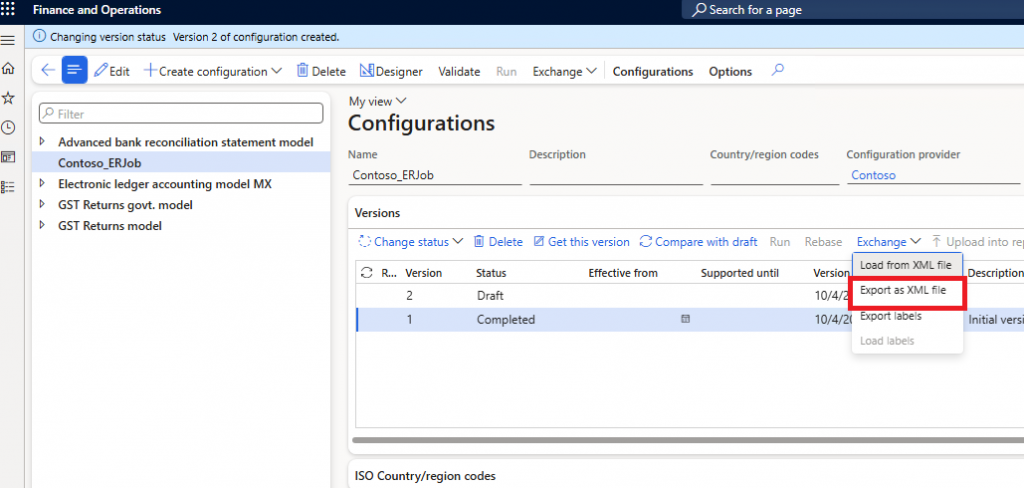
We can manually run it again any time we want, and we can also export it to a new environment. In the Configurations form, complete the model, select the last completed version, and choose Exchange > Export as XML file.
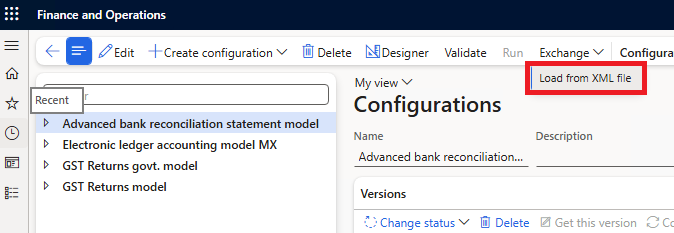
And in a new environment, we import the XML file.
And that’s it, a quick trick to update data in bulk!
Leave a Reply